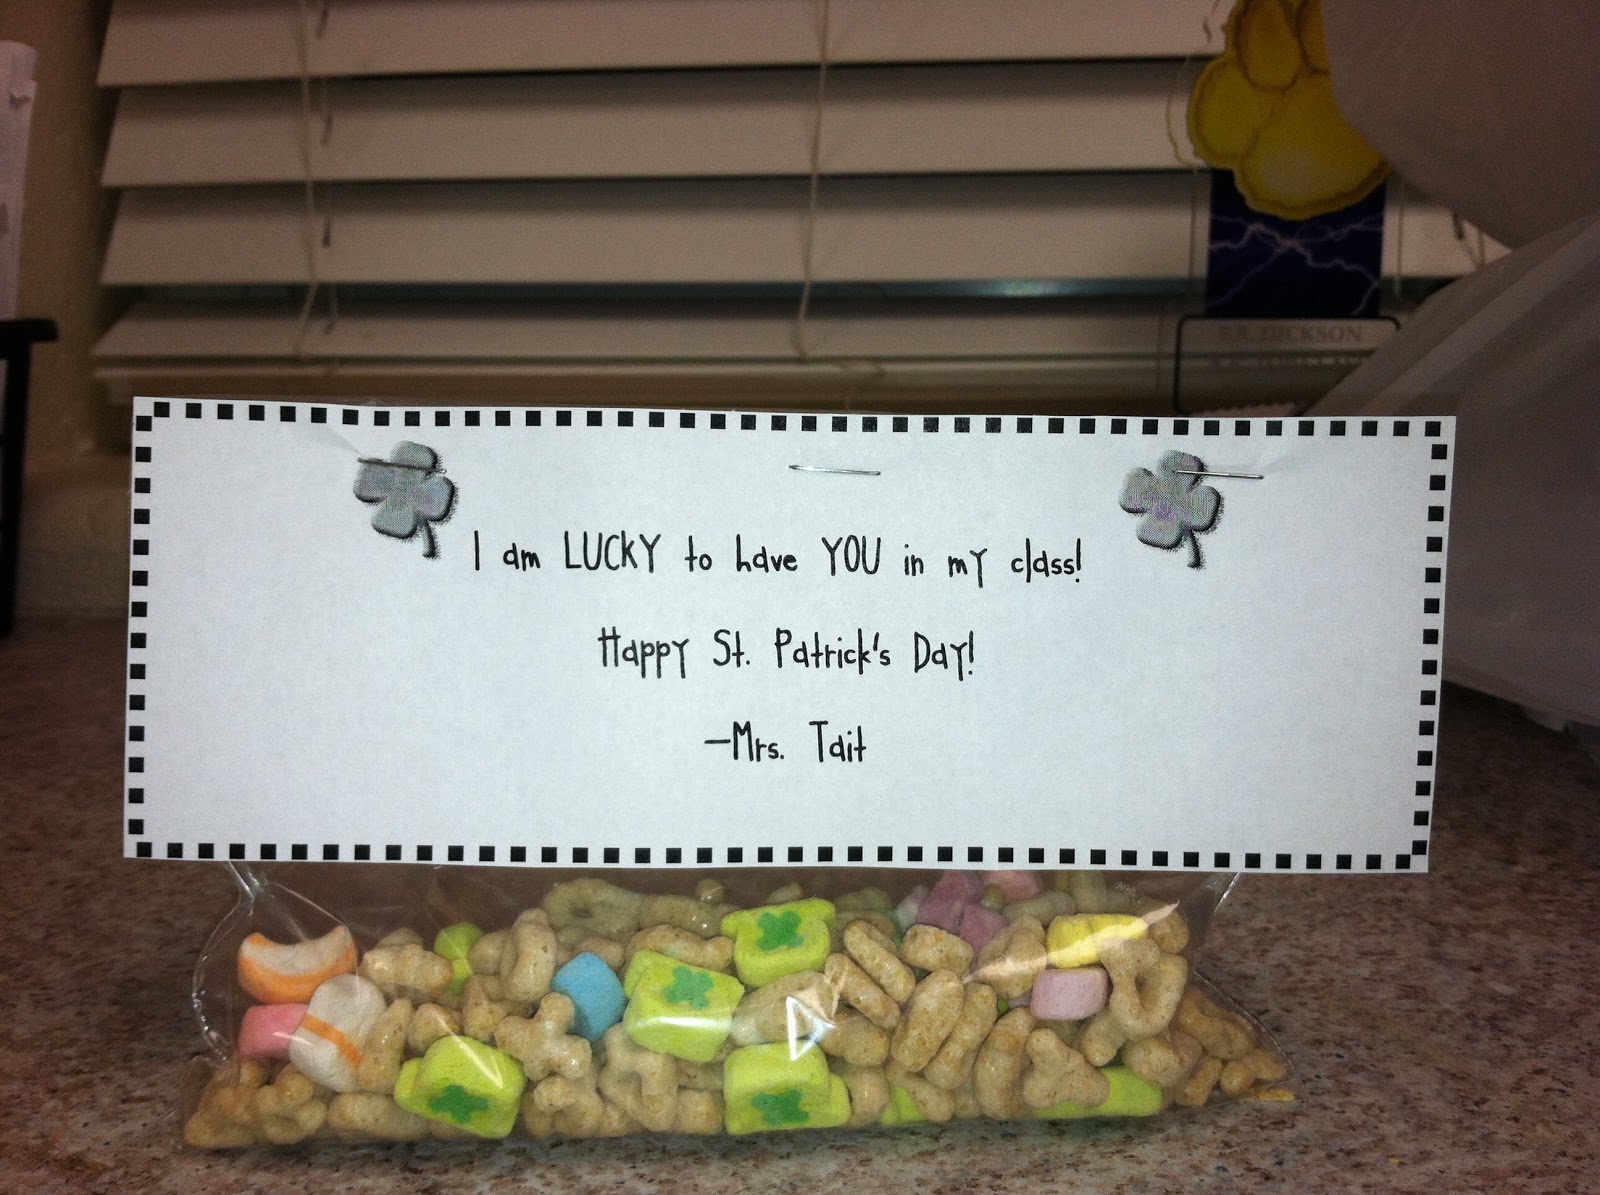
I wanted to share the project we did today. It was of course Pinterest inspired but I modified it just a little!
Shaving Cream Shamrock
Material
shaving cream (1 can was more than enough for my 18 students)
paper plates
paint
napkins
paint brushes
spatula
card stock
**Before you start the project you will need to copy an image/template (I did a shamrock) on card stock. Have the students cut out the image first.**
**Pass out paper plates and napkins.**
Step 1
*Spray shaving cream on the paper plate
*Have students spread out the shaving cream using their fingers. (They don't want to smooth the shaving cream out totally, just make sure the whole plate is covered.)
Step 2*Pass around the paint (I went around to each student and let them pick our their paint color. I then squirted the paint on the plate. Since we were making shamrocks I just had different shades of green. Paint color depends on the season/project)
Step 3
*Have student use opposite end of the paint brush to spread out the paint. I encouraged my kids not to mix all the colors together. We used our paint brush to create swirls, circles or zigzag lines.
Step 4
*Place the image (shamrock) face down on the paper plate. Use your fingers to press the image. After you feel like your whole image is covered, gently pick it up and leave it on the table to dry.
Step 5
*Allow your project to dry. (I would say 1-2 minutes)
Step 6
*Take the spatula and scrape off the extra shaving cream.
Step 7
*Allow your project to dry one last time :)
FINISHED PROJECT..
My students LOVED this project! They loved getting a little messy with the shaving cream and thought it was so cool to mix it with paint!
It was a great day in Mrs. Tait's 3rd grade class!
 |
HAPPY ST. PATRICK'S DAY!


No comments:
Post a Comment